Marketing Your Event

Get Your Event Link
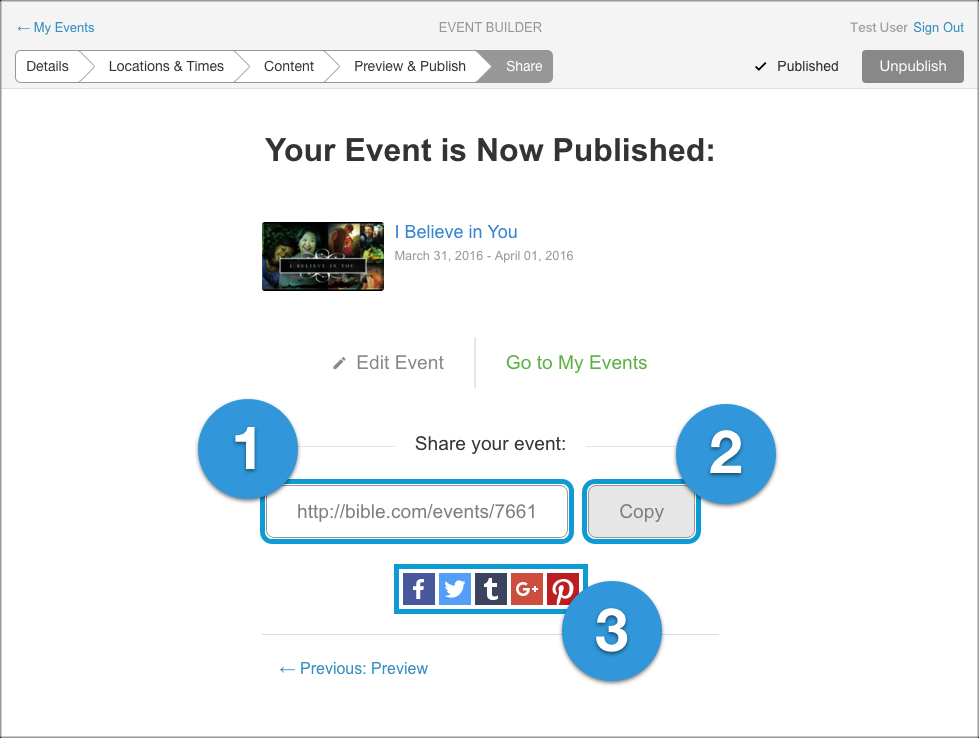
Once you’ve finished setting up your Event and you click Publish, you’re ready to start spreading the word about it. Event Builder makes it easy:
- Your Event Link. This is the link that you’ll share to help people find your Event. If they click the link and they have the Bible App installed your Event will open inside the app. If they don’t, it will open their browser to your Event on Bible.com.Tip: You might also hear this called a URL (pronounced YOU-are-ell). URL is an acronym for Uniform Resource Locator, which is Internet-speak for “website link.”
- Copy Button. Click the Copy button to copy your Event link to your clipboard. Event Builder will tell you it’s on your clipboard and then you can paste it into other applications on your computer (such as ProPresenter, Word, Notepad, etc.).Tip: Just open the app you want to copy your Event link to, place the cursor where you want it and select Edit, then Paste.
- Social Media Buttons. These buttons let you share your Event link directly to your social media networks. Click the one you want and Event Builder pops up a window with instructions for sharing.Tip: Each button will work more smoothly if you’re already signed in to the social network you’re posting to.
Market Your Event
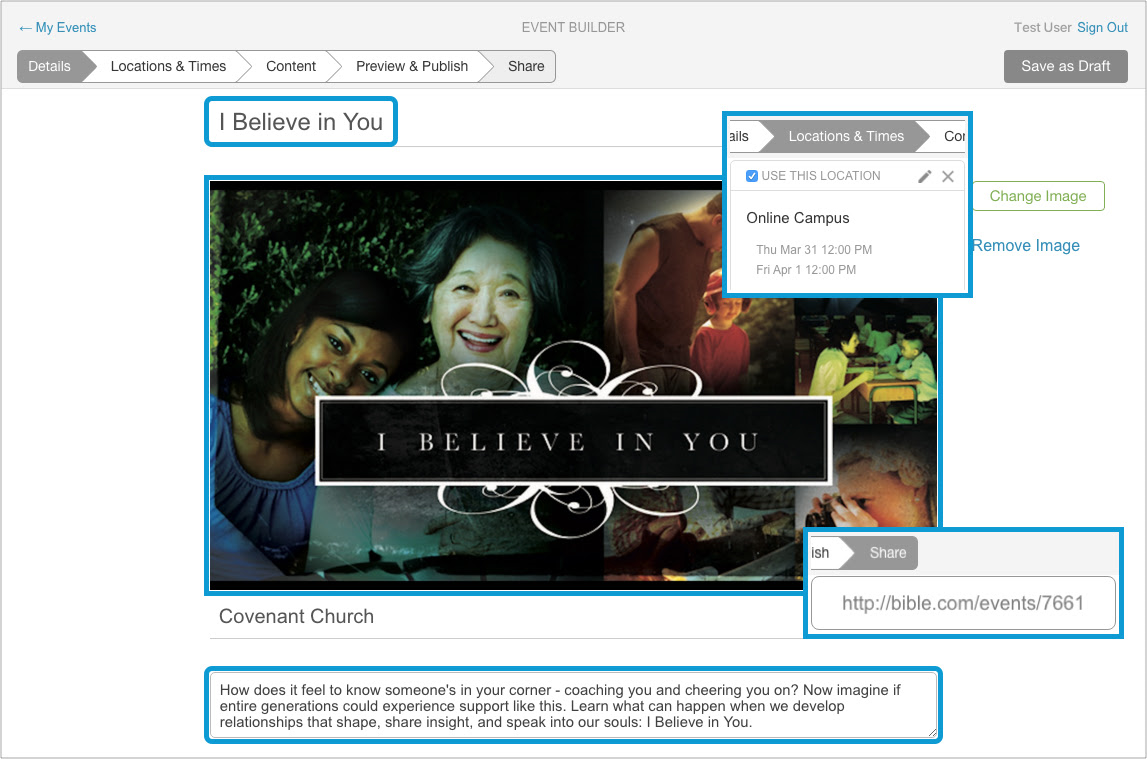
Now that your Event is published you have the key elements you’ll want to share: your Event link, title, location and times, and artwork. We recommend you start on our Events Resources page on Open. You’ll find free artwork (in JPG and PSD formats) that you can use on social media and ProPresenter, along with sample text to get you started.
Once you know what you want to say you can start sharing your Event in all the channels you use to communicate with your audiences:
- Stage announcements (tell attenders how using Events benefits them: note-taking, sharing, saving Events, etc.)
- Slides on your auditorium screen before and after services
- On your social media (Facebook, Twitter, Instagram)
- (Short) emails to your subscriber list
- Printed invite cards that attenders can take with them
- Flyers in high traffic areas (hallways, restroom stall doors, etc.)
- Lobby kiosks
- Church newsletters or bulletins (if applicable)
You can access a link to use on all your social networks, in your email communications, and even on screen during your service or event, once you have your Event scheduled and ready to share. When someone with the Bible App visits your link your Event opens directly inside the app. If they don’t have the Bible App, they’ll see your Event at Bible.com, with options to get the app if they want it.
Windows web users will be able to add notes, save, share event, share modules through the event link that is shared.
Users need to be signed in to their account on the web site (www.bible.com) before they open the Event URL in order to have all the features.